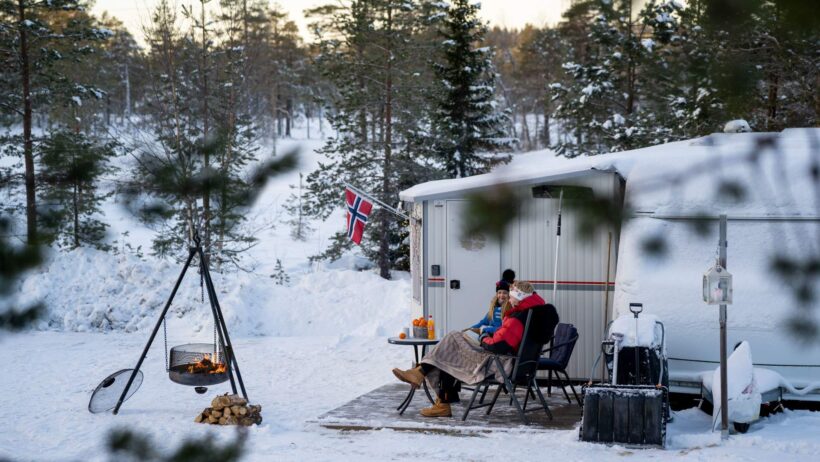
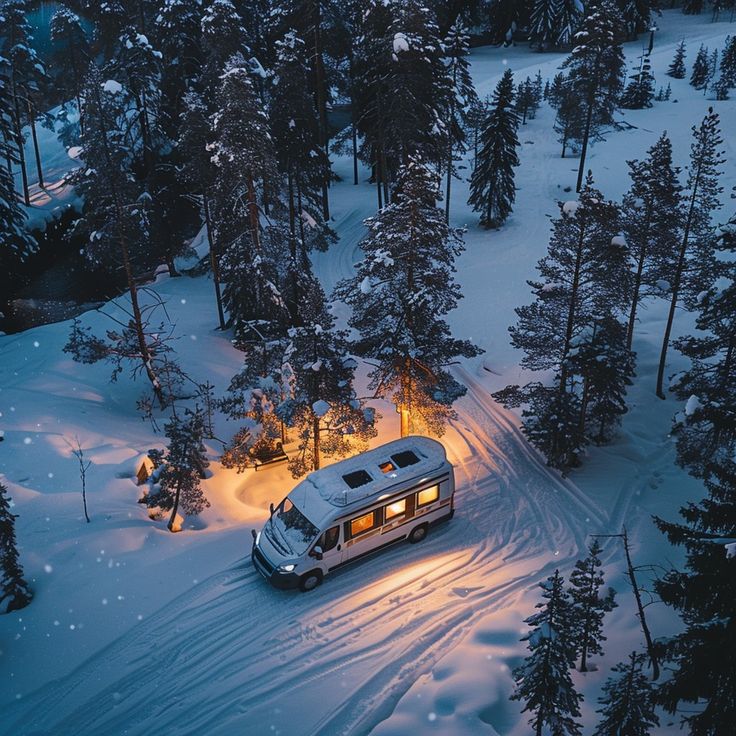
Welcome to the frontier of outdoor exploration! While summer camping offers warmth and ease, winter camping unlocks a completely different, stunningly beautiful, and deeply rewarding experience. Trading crowded trails for silent, snow-laden landscapes requires more than just a bigger sleeping bag; it demands knowledge, meticulous preparation, and the right gear. This comprehensive guide is your blueprint for turning potential hardship into an unforgettable, high-quality adventure. We will deep-dive into every aspect of winter camping, ensuring you are equipped not just to survive the cold, but to thrive in it.
Section 1: The Mindset Shift – Why Winter Camping is Worth the Chill

Many are intimidated by the idea of sleeping below freezing. However, as data shows a sharp increase in interest—with nearly one-third of campers reporting winter trips in recent years—the appeal is undeniable. Why brave the cold?
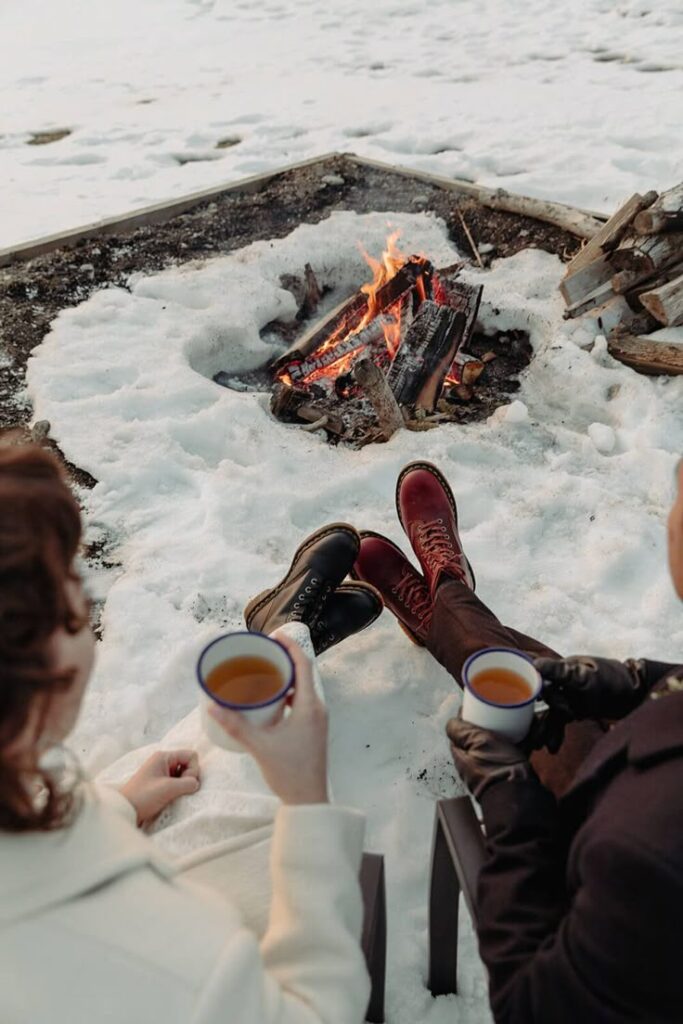
- Unmatched Serenity: Snow acts as a natural sound dampener. Campsites are quiet, granting a profound sense of peace you rarely find in other seasons.
- Stunning Scenery: Snow-covered peaks, frozen lakes, and crisp, clear night skies offer photographic opportunities unmatched by summer trips.
- Fewer Crowds: Popular summer spots transform into pristine, private retreats.
- Skill Mastery: Successfully navigating and enjoying the cold significantly boosts your overall outdoor confidence and self-reliance.
The key difference between a miserable winter trip and an epic one lies in preparation. We must shift our focus from lightweight to bombproof and warmth-retention.
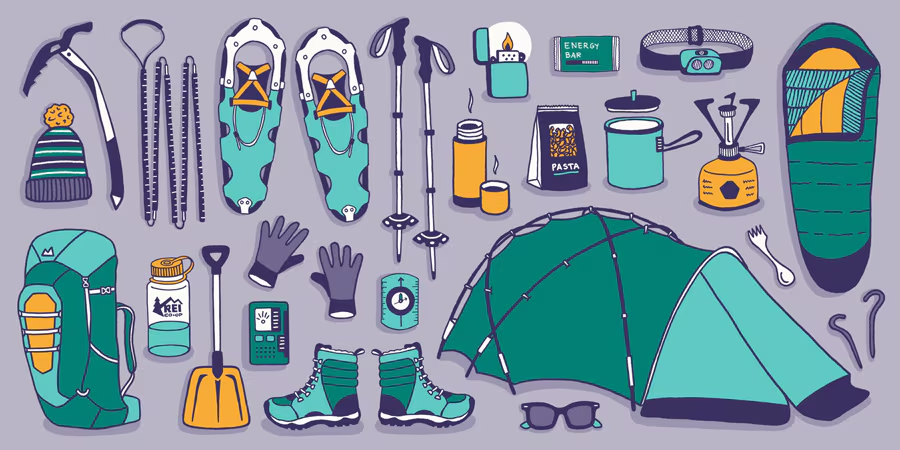
Section 2: The Core Winter Camping Checklist – Gear Breakdown
This checklist focuses on essentials for snow camping or camping in temperatures significantly below freezing. Remember the adage: everything takes twice as long in winter—setting up, cooking, breaking camp. Plan accordingly.
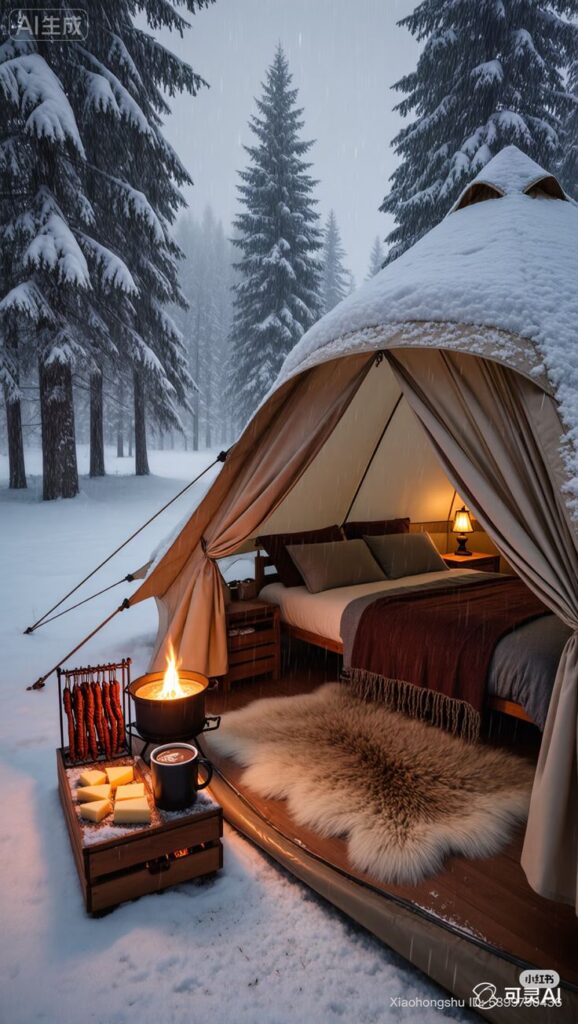
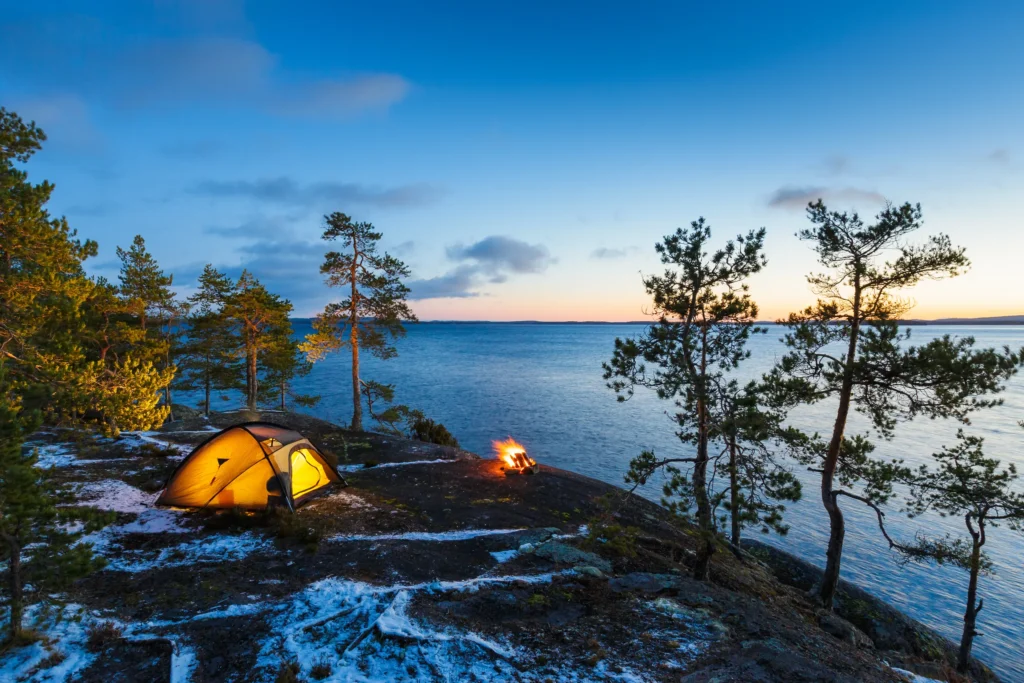
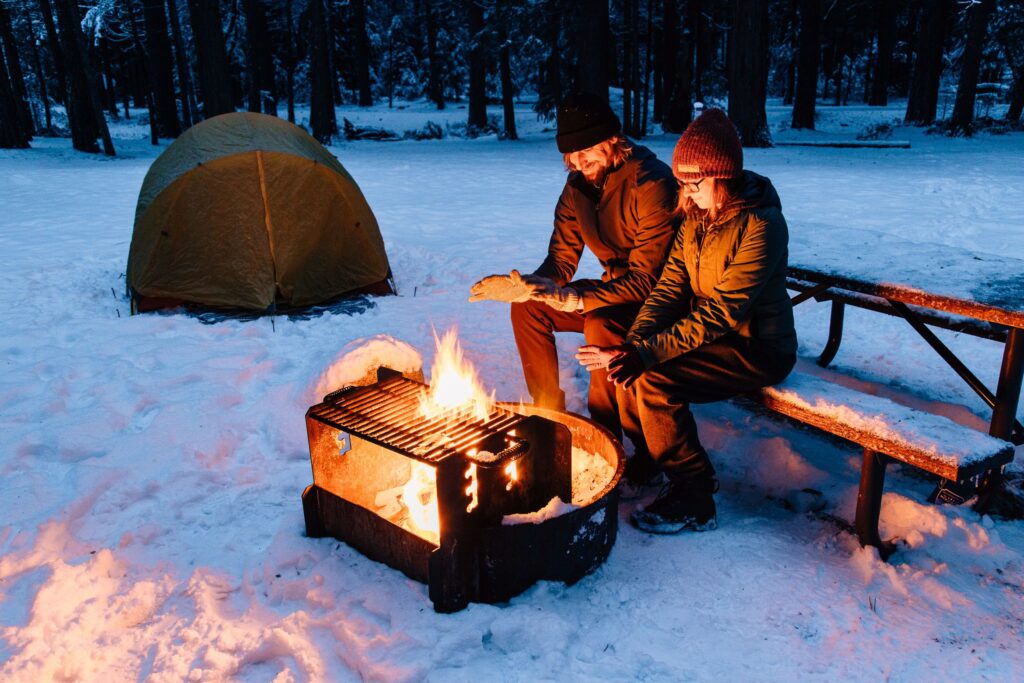
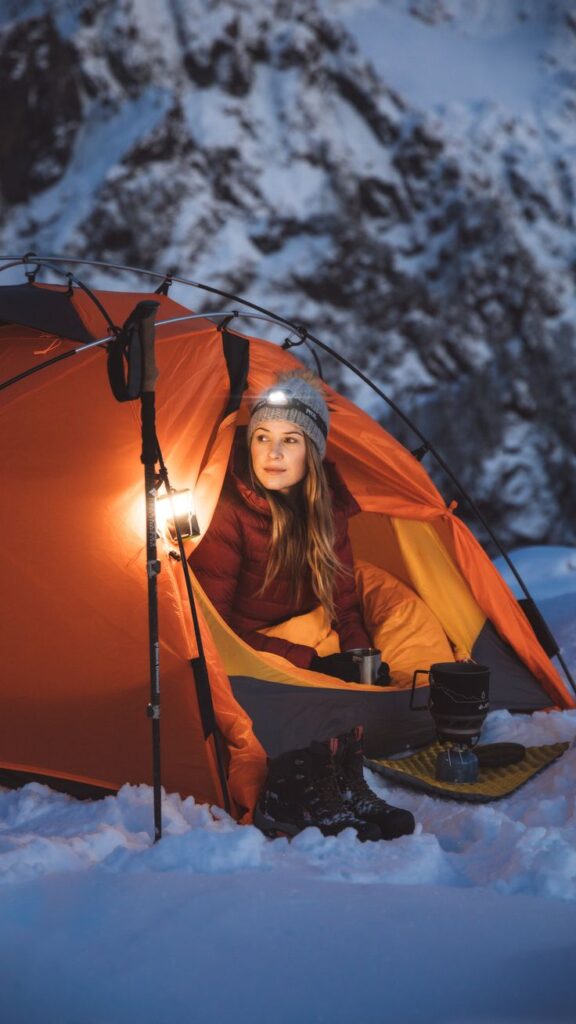
2.1 Shelter: Your Four-Season Fortress
Your shelter must withstand higher winds and potential heavy snow loads. While a robust 3-season tent can work in mild winter conditions, investing in a 4-season tent offers superior peace of mind.
| Item | Detail & Winter Optimization | Keywords |
| 4-Season Tent | Full-coverage fly that extends close to the ground to block wind. Sturdy poles are crucial. Consider space for gear in the vestibule. | 4-season tent, winter tent, wind protection |
| Tent Footprint/Tarp | Essential barrier against moisture from the snow beneath you. Also useful for staging gear outside the tent. | Tent footprint, waterproof barrier |
| Stakes & Anchors | Standard stakes are useless in snow or hard-frozen ground. Pack snow stakes or large sticks/trekking poles to use as anchors buried under the snow (dead-man anchors). | Snow stakes, dead-man anchor |
| Snow Shovel | Not just for avalanche rescue; use it to build snow walls around your tent for wind protection or to flatten a tent platform. | Snow shovel, wind break |
| Tarp (Extra) | A dedicated cooking tarp set up outside the tent vestibule prevents condensation from cooking inside your sleeping area. | Camp kitchen tarp |
Expert Insight: If you have two people sharing a tent, size up (e.g., a 3-person tent for two people). That extra space is vital for storing critical, dry gear inside and preventing a cramped, stuffy vestibule.
2.2 The Sleep System: Fighting the Cold from Below

Heat loss to the ground is often more significant than heat loss to the air. Your sleep system must prioritize ground insulation (R-Value) above all else.
- Sleeping Bag: You need a bag rated at least $5^\circ \text{C}$ lower than the coldest temperature you expect. Down bags offer the best warmth-to-weight ratio, but synthetic is better if moisture is a high risk.
- Tip: For very cold trips, consider a double-bag system or using a sleeping bag liner for an extra thermal boost.
- Sleeping Pads (The Double Stack): This is non-negotiable. You need two pads to achieve adequate R-Value (the measure of thermal resistance).
- Insulated Inflatable Pad: This is your primary, comfortable pad (aim for an R-value of 4.0 or higher).
- Closed-Cell Foam Pad: This serves as a robust, puncture-proof base layer directly on the snow/ground. It also makes a great sit pad around camp.
- Pillow: A lightweight, packable pillow, or simply a stuff sack filled with spare clothes.
Crucial Cold Weather Strategy: Keep all electronic devices (headlamp batteries, phone, power bank) inside your sleeping bag or a dedicated pocket close to your core. Cold saps battery life rapidly.
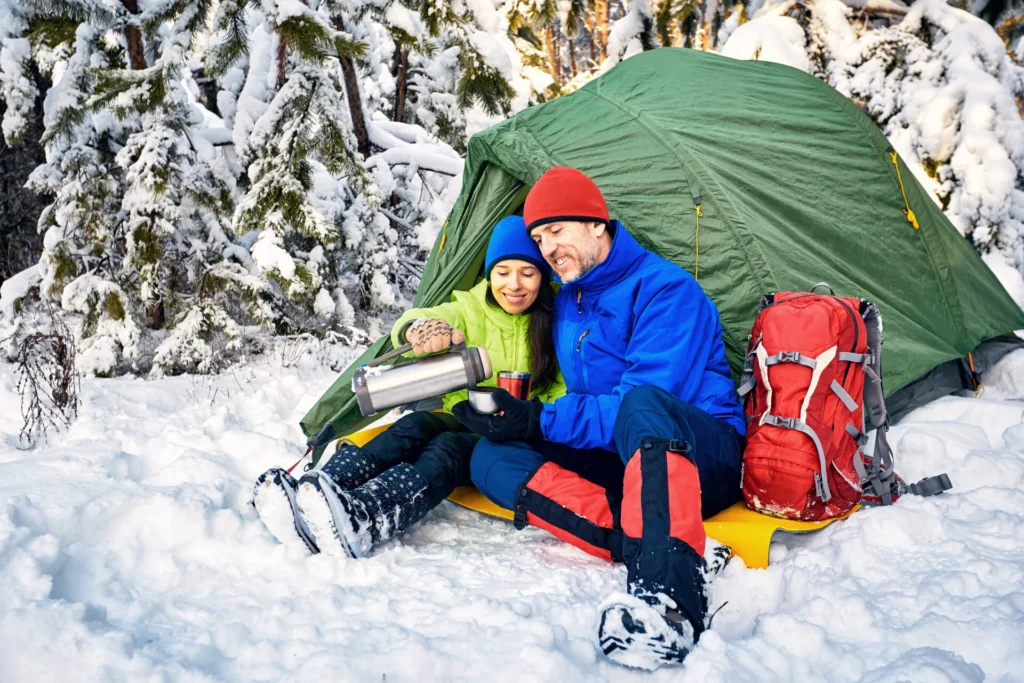
2.3 Clothing: Mastering the Layering System (The No Cotton Rule)
Hypothermia and frostbite are the major threats in winter camping. Statistics show that moisture from sweat or external sources rapidly lowers body temperature. Cotton Kills—it holds moisture and loses all insulating properties when wet. Stick to wool or synthetics.
The Three-Layer System:
- Base Layer (Wicking): Sits against the skin to move sweat away.
- Items: Midweight or heavyweight merino wool or synthetic long underwear (top and bottom).
- Mid Layer (Insulating): Traps your body heat. You’ll add or shed these as activity levels change.
- Items (Top): A fleece jacket or a puffy jacket (down or synthetic). Synthetic puffies are best if you anticipate getting wet.
- Items (Bottom): Fleece pants or heavier base layers.
- Outer Layer (Shell): Protects you from wind, snow, and rain. It must be both waterproof and breathable.
- Items: Hardshell jacket and waterproof/breathable hardshell pants or ski bibs. Pit-zips on jackets are essential for ventilation during exertion.
Extremity Protection (High Frostbite Risk):
- Head: Warm hat (toque), plus a balaclava or neck gaiter to cover the face and neck. You lose significant heat through your head.
- Hands: The system must be multi-part: Liner gloves (for dexterity when taking off big gloves), Waterproof gloves or mittens (mittens are generally warmer). Pack an extra pair of dry gloves.
- Feet: Layered socks are key—a thin synthetic liner sock to wick moisture, followed by one or two pairs of thick wool hiking socks. Do not wear boots so tight they restrict blood flow.
- Footwear: Insulated, waterproof winter boots. Pack snow gaiters to keep snow out of your boots. Consider light, insulated down booties or insulated shoes for inside the tent only.
Section 3: Camp Kitchen and Hydration – Fueling the Furnace
In the cold, your body burns significantly more calories just to stay warm. Plan for 2,500–3,500 calories per day, focusing on fats and carbohydrates. Cooking and melting snow take longer and use more fuel.
3.1 Cooking & Fuel
- Stove: Use a liquid-fuel stove or a remote canister stove with a pre-heater loop. Standard canister stoves can struggle or fail below freezing. Alcohol stoves burn well but are very slow for melting snow.
- Fuel: Plan to use 2.5 times more fuel than you would in summer, primarily because melting snow for water consumes a lot of BTUs.
- Cook Set: Bring a large pot dedicated only to melting snow. Bring an insulated mug or thermos to keep liquids hot for longer.
- Food Prep: Pre-make meals ahead of time (soups, burritos) that only require re-heating. One-pot meals are easiest to clean.
3.2 Hydration Strategy

Dehydration happens quickly in dry winter air, often without you noticing. Hydration is necessary for your body to generate heat.
- Water Source: If you are on snow, you must melt snow. Do not rely on filtering, as filters can freeze solid.
- Melting Snow Tip: Start by melting a small amount of water first. Pouring dry snow directly onto a hot stove can scorch your pot.
- Preventing Freezing:
- Use insulated water bottles.
- Keep bottles upside down so ice forms at the bottom (the mouth/opening) instead of sealing shut.
- Keep water bottles inside your sleeping bag overnight.
Case Study: The Importance of Hydration
In the extreme cold, research indicates that the body’s ability to sense thirst is diminished. A well-known backcountry safety principle emphasizes monitoring urine color; dark urine signals dehydration, which can rapidly accelerate the onset of fatigue and hypothermia. Drink consistently, even when you don’t feel thirsty.
Section 4: Navigation, Safety, and Emergency Preparedness
While winter offers tranquility, it also introduces hazards like rapid weather shifts and hidden obstacles. Preparation is the ultimate safety net.
4.1 Navigation Essentials
Visibility can drop to near zero in a whiteout, making navigation tricky as subtle landmarks get buried.
- Map and Compass: Always carry a waterproofed physical map and a compass. Know how to use them!
- GPS/Phone: Great tools, but batteries die faster. Download maps for offline use. Consider a dedicated GPS watch or a satellite messenger for remote areas.
- Trip Plan: Leave a detailed itinerary, including your expected return date and emergency contacts, with someone reliable back home.
4.2 Essential Safety Gear
Beyond the standard Ten Essentials, winter requires specific additions:
- Communication: Whistle, Personal Locator Beacon (PLB), or Satellite Messenger (for deep backcountry).
- First Aid: Enhance your kit with extra attention to blister care and hypothermia treatment supplies.
- Fire: Bring multiple ignition sources: waterproof matches, a lighter, and a fire-starting rod/striker with high-quality emergency tinder (like cotton balls soaked in petroleum jelly).
- Repair Kit: Duct tape (wrapped around a water bottle or trekking pole), tent pole repair sleeve, and sleeping pad patch kit are vital for field repairs.
4.3 Campsite Selection and Snow Safety
Where you pitch camp can save you from a miserable night or, worse, a dangerous situation.
- Wind Block: Position your tent to take advantage of natural wind blocks like large rocks or stands of dense trees.
- Snow Compaction: Before pitching, stomp down the snow (wearing snowshoes or skis) where your tent and vestibule will sit. This compacts the snow, reducing the area where your body heat can melt it underneath your pad.
- Avalanche Awareness: Never camp on or directly below slopes prone to sliding. Check local avalanche forecasts if operating in mountainous terrain.
- Hazard Trees: Avoid camping directly under large, snow-laden trees or any trees that look dead or damaged (hazard trees). Snow or heavy limbs can fall.
Section 5: Camp Hygiene and Comfort Hacks
Staying clean and comfortable is key to morale and health on longer winter trips.
5.1 Personal Hygiene and Clothing Care
- The Dry Clothes Rule: Change into completely dry clothes (especially a clean base layer and socks) immediately upon reaching your tent. This prevents the damp outer layers from chilling you once you stop generating heat.
- Keep Tomorrow’s Clothes Warm: Place the clothes you plan to wear the next morning (base layers, socks) in a dry sack at the bottom of your sleeping bag. You will use energy warming up cold gear; starting dry and warm saves calories.
- Midnight Hydration: Keep an extra, clearly marked water bottle inside your tent for late-night bathroom breaks. Venturing out unnecessarily into the cold burns calories and risks sleep disruption.
- Toiletries: Pack small amounts. Remember to pack out all toilet paper and hygiene products in a dedicated, sealable waste bag (Leave No Trace principle).
5.2 Expert Hacks for Warmth and Sanity
These small details, often shared by seasoned winter campers, make a huge difference:
- The Hot Water Bottle: Before bed, boil extra water, pour it into a well-tested, leak-proof, heat-resistant water bottle, and place it near your core inside your sleeping bag. It acts as a personal, temporary furnace.
- Breath Management: Do not breathe heavily inside your sleeping bag. The moisture from your breath will soak the insulation, drastically reducing its effectiveness. Sleep with your head slightly outside the bag or breathe through a bandana/hat.
- Footwear Storage: Place your damp boots/shoes in a waterproof sack and slide them between your sleeping pad and your sleeping bag. This prevents them from freezing rock-hard overnight and allows residual warmth to aid drying.
- The Sunrise Spot: If possible, choose a campsite that gets early morning sun exposure. A little warmth on your tent in the morning goes a long way toward boosting morale and drying gear.
Section 6: Statistics and The Expert Consensus on Winter Preparation

The preparation for winter camping is focused overwhelmingly on insulation and moisture management.
| Statistic/Finding | Source & Implication | Focus Area |
| Layering is Key | Multiple expert sources stress the need for Base (Wicking), Mid (Insulating), Outer (Shell) layers. Cotton is explicitly warned against. | Clothing |
| Double Sleeping Pads | Recommended by multiple guides (R-value of 4+ combined) to combat heat loss to frozen ground. | Sleep System |
| Increased Fuel Needs | Plan for 2.5x more fuel than summer trips, needed for melting snow for essential hydration. | Kitchen/Hydration |
| Hypothermia/Frostbite | Identified as the major threats by safety experts, emphasizing the need to stay dry and warm extremities. | Safety |
| Travel Time Slowdown | Experienced campers suggest reducing daily mileage goals by 50% to 60%. | Planning |
Expert consensus is clear: Preparation is insulation. A well-planned trip means fewer emergencies and more enjoyment.
Conclusion: Your Call to Action
Winter camping is not about enduring discomfort; it is about mastering the environment through superior preparation. You now possess the comprehensive knowledge—from the critical double-pad setup to the mandatory layering system and fuel contingency—to face the cold confidently.
The beauty of the winter wilderness awaits. Don’t let fear of the unknown keep you indoors. The first step is the most important.
Call to Action:
Don’t just read this guide—apply it! Your next step is to select a low-risk, familiar location for a short, single-night winter trial run. Now that you have your definitive winter camping checklist, would you like me to help you create a detailed, day-by-day itinerary and gear-sourcing plan for your first overnight snow adventure?