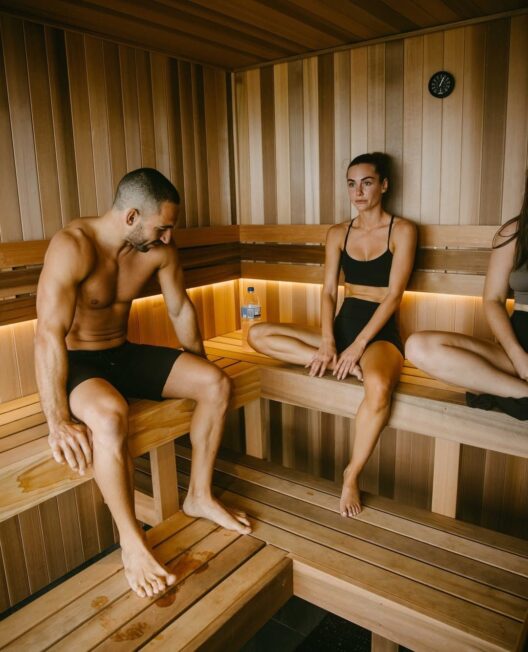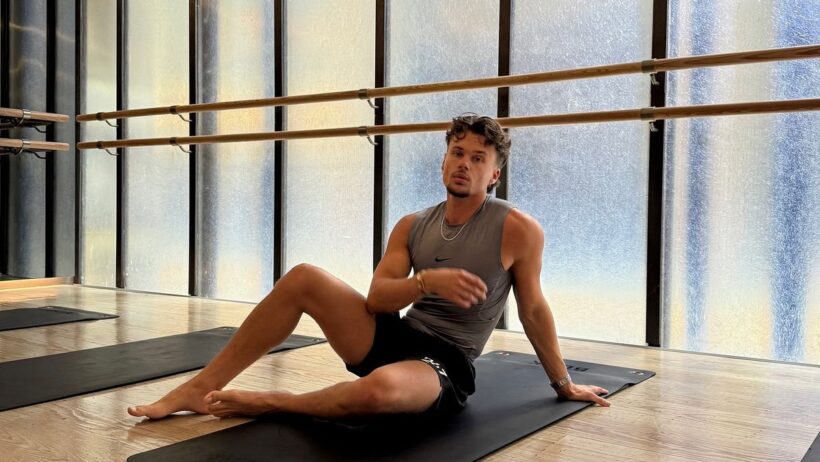
Hey fellow cyclists! Ever feel that tight, “locked-up” sensation in the front of your hips after a long ride? You’re not alone. The constant, repetitive motion of pedaling, combined with a forward-leaning posture, makes tight hip flexors a common curse for riders.
When your hip flexors—the muscles that lift your knee towards your torso—get short and tight, they can cause a cascade of problems: lower back pain, knee issues, and, most importantly, a less powerful and efficient pedal stroke. Since the iliopsoas (the main hip flexor group) is the only muscle that connects your upper and lower body, its tightness can literally impact your entire ride.
Ready to loosen up and unlock your full potential on the bike? This simple, friendly routine targets those notorious hip flexors and surrounding muscles to boost your mobility and comfort.


The Pre- and Post-Ride Fix: Your Essential Routine
Aim to do these stretches after your ride when your muscles are warm, or on a rest day. For the best results, hold each stretch for 30–60 seconds on each side. Remember, we’re aiming for a gentle pull, not pain!
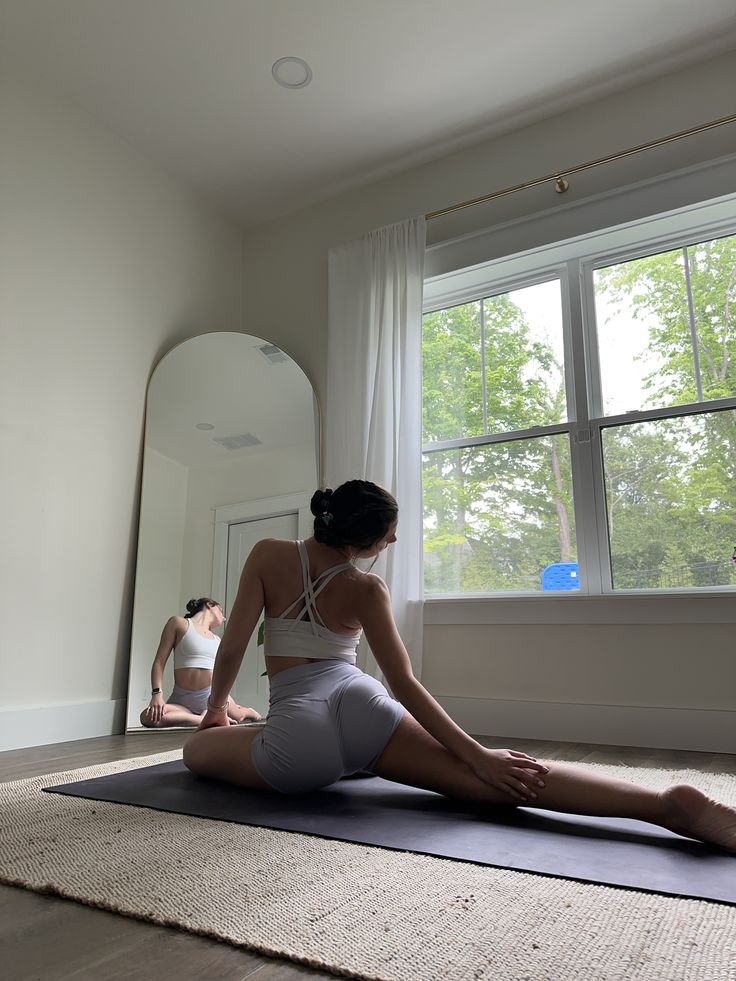
1. The Classic Kneeling Hip Flexor Stretch (The Foundation)
This is the gold standard for lengthening the main hip flexor, the psoas.
- How to do it: Kneel on the ground with one knee down (the “stretched leg”) and the other foot flat in front of you at a 90-degree angle.
- The move: This is crucial: Gently tuck your pelvis forward and squeeze the glute of the knee that is on the ground. You should feel a deep stretch high up in the front of your hip and thigh on the kneeling side.
- Pro Tip: Avoid leaning forward with your torso. The power of the stretch comes from that simple glute squeeze and pelvic tuck.
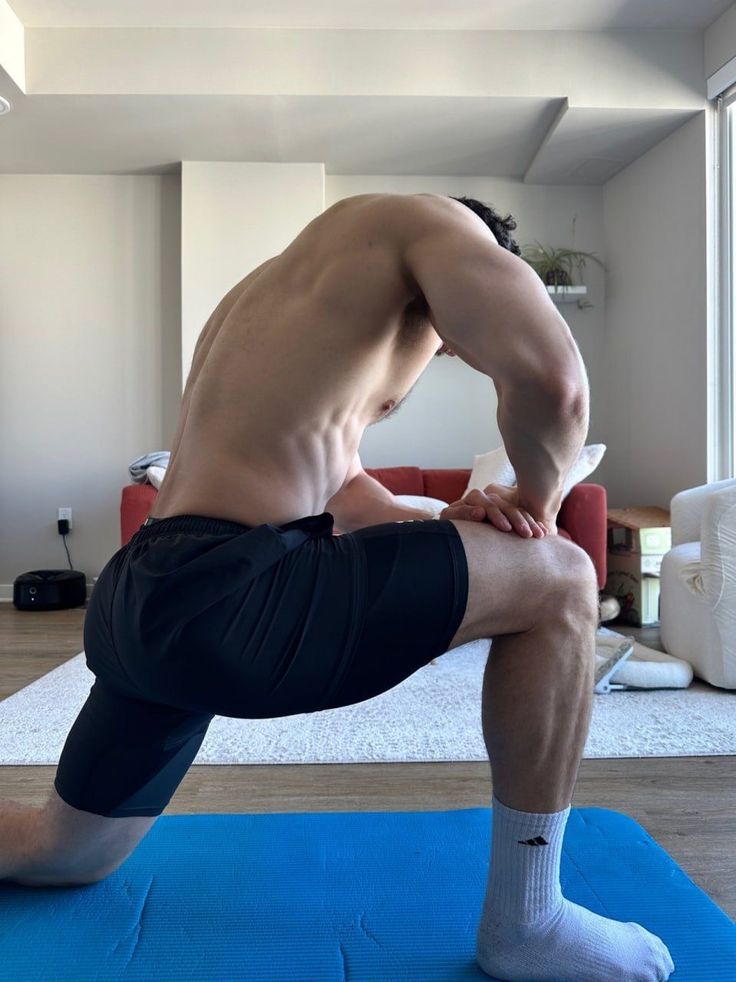

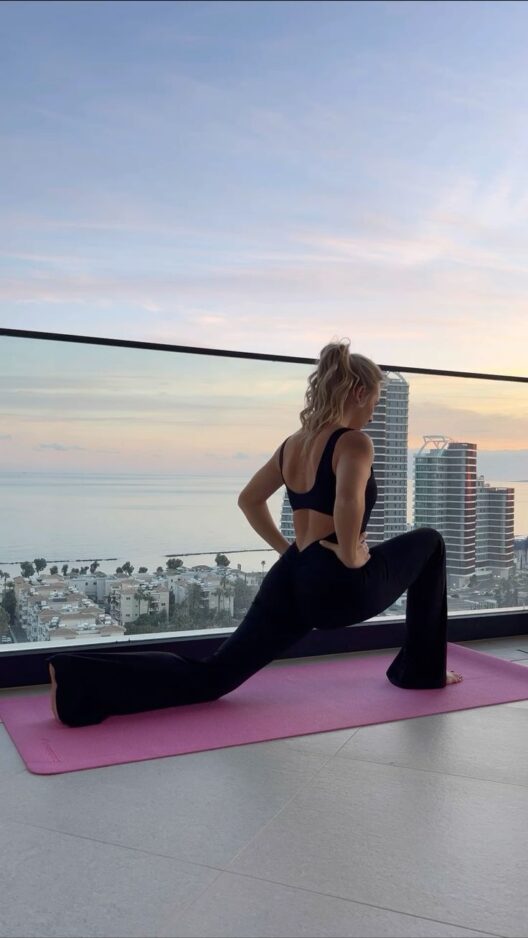
2. The Lunge with Arm Reach (The Dynamic Deepener)
This variation adds a torso twist and lateral flexion to stretch the hip flexors and the muscles running along the side of your core.
- How to do it: Start in the same kneeling position as the Classic Stretch (Step 1).
- The move: Squeeze the glute on the kneeling side. Raise the arm on that same side up and overhead. Now, gently lean your torso and the raised arm away from the front leg.
- Why it works: The overhead lean targets the outer fibers of the hip flexors and opens up the side of your torso, helping to reverse the hunched-over cycling posture.
3. The Frog Stretch (The Adductor/Inner Thigh Release)
Tight inner thighs (adductors) can restrict hip rotation, which in turn stresses the hip flexors and hips. This stretch opens up the entire hip capsule.
- How to do it: Start on your hands and knees. Slowly widen your knees out to the sides, turning your toes slightly outward.
- The move: Lower your elbows to the floor (or use a cushion). Push your hips backward towards the wall behind you. You should feel an intense stretch in your inner thighs and groin.
- Keep in mind: Adjust your knee width until you find a tolerable stretch. This is a deep one—listen to your body and back off if you feel any sharp pain.

4. The Supine Hip Flexor Stretch (The Couch Stretch Alternative)
This is a great deep-tissue stretch that safely isolates the hip flexor without stressing the knee.
- How to do it: Lie on your back on the edge of a bed or bench with both legs extended. Pull one knee up to your chest and hold it securely with both hands.
- The move: Gently let the opposite leg (the one you want to stretch) hang off the side of the bed. Keep your lower back pressed flat against the bed.
- The benefit: Allowing gravity to pull the hanging leg into full extension provides a passive, deep stretch to the hip flexor while your back remains supported.
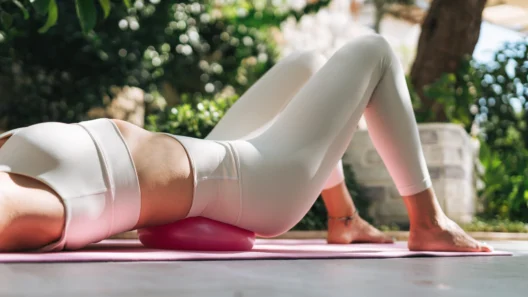
5. The Glute Bridge with Pelvic Tilt (The Active Release)
While not a direct stretch, this move actively strengthens your glutes and teaches your body to utilize the opposing muscle group to release the hip flexors.
- How to do it: Lie on your back with your knees bent and feet flat on the floor, hip-width apart.
- The move: Before lifting, perform a small pelvic tuck (flattening your lower back against the floor). While maintaining that tuck, squeeze your glutes and lift your hips off the floor until your body forms a straight line from your shoulders to your knees. Slowly lower down and repeat for 10–12 repetitions.
- The payoff: Strong glutes counteract tight hip flexors. By actively engaging your glutes, you teach your hip flexors to finally let go.

Why Cyclists Need This Routine
Cycling is a powerful sport, but it primarily uses a narrow range of motion—repeatedly flexing your hip. If you only move your hip in this one way, the muscles get stiff and weak in their fully extended position.
Improved hip flexor mobility means:
- Reduced Back Pain: Loose hip flexors prevent them from pulling your pelvis forward (anterior tilt), which is a common cause of lower back strain and discomfort on the bike.
- A Powerful Downstroke: Better extension in the back of your pedal stroke allows your glutes and hamstrings to fire more effectively on the power phase. You literally get more oomph.
- Injury Prevention: By allowing your hips to move freely, you take stress off your knees and lower back, helping you stay on the saddle and out of the physical therapist’s office.
Incorporate this routine a few times a week, and you’ll notice a huge difference not just in your comfort, but in your ability to maintain power through those long miles!
What’s your biggest challenge when it comes to off-bike stretching—finding the time, or feeling awkward in public?